


フリーのウェブメールソフトである、RoundCubeが遂にメジャーアップデートでベータ版を脱出したので、試しにCPIサーバへ設置してみたので、その設置手順を忘備録としてポストします。
CPIサーバにRoundCube1.0を設置
RoundCubeダウンロード
Roundcube – Free and Open Source Webmail Software
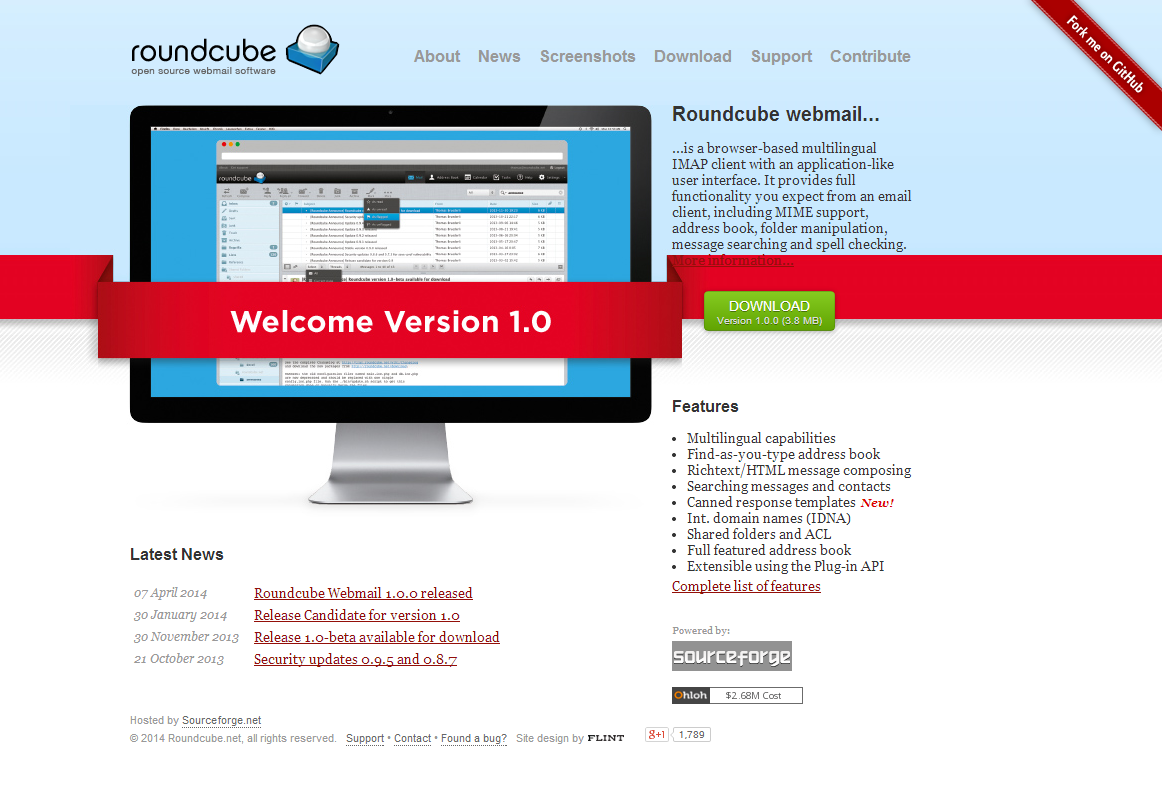
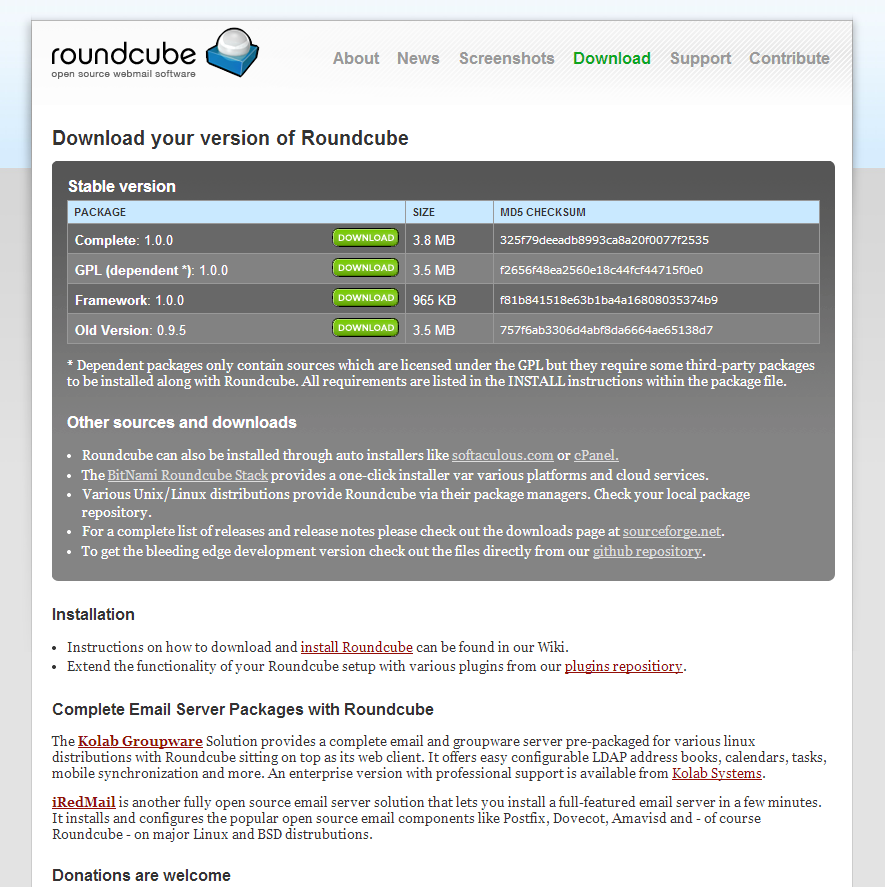
2014.04.25時点で、Version 1.0.0(3.8MB)
RoundCube用データベースの作成
CPIのコントロールパネルから進める、DBの設定で、RoundCube用データベースを作成。
今回はわかりやすく「ユーザ名_rc100」というDB名としました。
RoundCubeの設定
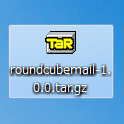
解凍して、ディレクトリ名を「roundcubemail-1.0.0」→「roundcubemail100」としてFTPでアップロード。
◆パーミッション変更
roundcubemail100/temp → 775
roundcubemail100/logs → 775
◆インストーラー作成
/roundcubemail100/config/defaults.inc.php のオプションを変更。
————————————————————
$config[‘enable_installer’] = false;
————————————————————
↓↓↓
————————————————————
$config[‘enable_installer’] = true;
————————————————————
とし、インストーラー
http://ドメイン/roundcubemail100/installer/
へブラウザでアクセス。
うおう、500が出た。

調査すると、roundcubemail100/.htaccess 26行目付近、
mod_rewriteがあるので、CPIで必要な設定「Options +FollowSymLinks」を追記。
アクセスするが、まだ500エラーが出る。
————————————————————
# – deny access to files not containing a dot or starting with a dot
# in all locations except installer directory
RewriteRule ^(?!installer)(\.?[^\.]+)$ – [F]
————————————————————
の行がどうしてもエラーになるので、とりあえず RewriteRule をコメントアウトするとインストーラーにアクセス成功。
書かれている英語を読むに「インストーラー以外のファイルにはアクセス権を与えない」とかそういう感じなので、ここでは無視して進めることにします。
インストーラー
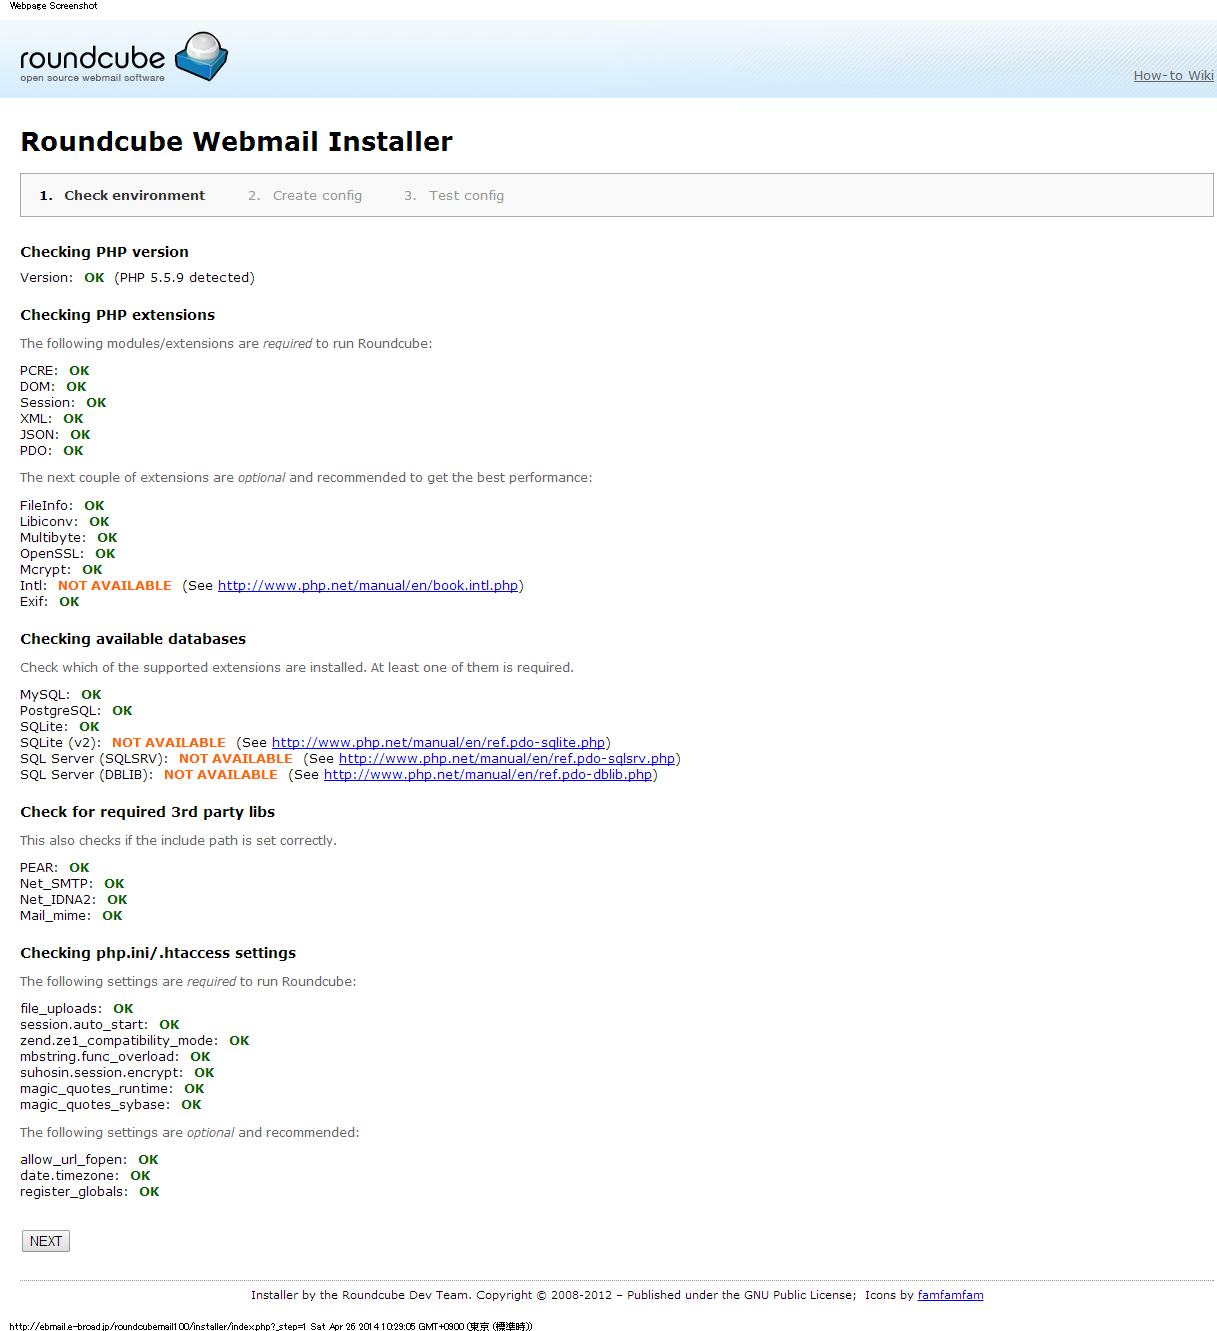
<NOT AVAILABLE>
Intl:
NOT AVAILABLE(See http://www.php.net/manual/en/book.intl.php)
SQLite (v2):
NOT AVAILABLE(See http://www.php.net/manual/en/ref.pdo-sqlite.php)
SQL Server (SQLSRV):
NOT AVAILABLE(See http://www.php.net/manual/en/ref.pdo-sqlsrv.php)
SQL Server (DBLIB):
NOT AVAILABLE(See http://www.php.net/manual/en/ref.pdo-dblib.php)
の4つがNG。
SQLite も SQL Server も使用しないので、そのまま進めます。
timezone及び、必要箇所がOKになっていることを確認し「NEXT」ボタン。
インストーラー設定
General configuration
- product_name : サービス名
- support_url : http://サービスドメイン/
- skin_logo : 空白
- temp_dir : /usr/local/chroot/usr/home/ユーザ名/html/roundcubemail100/temp/
- des_key : 50*****P_egm******&aP**v
- ip_check : チェックする
- enable_spellcheck : チェックしない
- spellcheck_engine : pspell を選択
- identities_level : many identities with possibility to edit params を選択
Logging & Debugging
- debug_level : Log errors をチェック
- log_driver : syslog を選択
- log_dir : /usr/local/chroot/usr/home/ユーザ名/html/roundcubemail100/logs/
- syslog_id : roundcube
- syslog_facility : user-level messages
Database setup
- db_dsnw
- Database type : MySQL
- localhost : localhost
- roundcubemail : ユーザ名_rc100
- Database user name : DBユーザ名
- Database password : DBパスワード
- db_prefix : rc_
IMAP Settings
- default_host : メールサーバ
- default_port : 143
- username_domain : 空白
- auto_create_user : チェックする
- sent_mbox : Sent
- trash_mbox : Trash
- drafts_mbox : Drafts
- junk_mbox : Junk
SMTP Settings
- smtp_server : smtpサーバ
- smtp_port : 587
- smtp_user/smtp_pass : 空白 / 空白
- Use the current IMAP username and password for SMTP authentication : チェックする
- smtp_log : チェックする
Display settings & user prefs
- language * :
- skin : larry
- mail_pagesize * : 50
- addressbook_pagesize * : 50
- prefer_html * : チェックする
- preview_pane * : チェックしない
- htmleditor * : always
- draft_autosave * : 5min
- mdn_requests * : ask the user
- mime_param_folding * : Full RFC 2231(Roundcube, Thunderbird)
と、今回は以上のような設定とします。
もちろん、設定は任意ですが、データベースとIMAPの設定をきちんとする事が肝心です。
出来上がったら、「CREATE CONFIG」ボタンをクリック。
The config file was saved successfully into RCMAIL_CONFIG_DIR directory of your Roundcube installation.
という表示が出て、/roundcubemail100/config/ に 「config.inc.php」が作成されるので、FTPでダウンロードする。
「CONTINUE」ボタン押下で、3.Test Configに移動します。

DB Schema
DB SchemaがNGだったが、「initialize」ボタンを押すとOKとなりました。
Mimetype to file extension mapping
Mimetype to file extension mapping: NOT OK
Please set a valid path to your webserver’s mime.types file to the mime_types config option.
If you can’t find such a file, download it from svn.apache.org.
と、あるので、リンク先(svn.apache.org.)の mime.types を、右クリックから保存。
RoundCubeのルート(roundcubemail100直下)にFTPでアップロードする。
defaults.inc.php を修正
(219行)
$config[‘smtp_auth_type’] = ‘LOGIN’; ←★変更
(383行)
$config[‘username_domain’] = ”; ←★空白のまま
(477行)
$config[‘mime_types’] = “../mime.types”; ←★変更(アップロードしたパスを指定)
(513行)
$config[‘message_sort_col’] = ‘date’; ←★変更
(543行)
$config[‘date_long’] = ‘Y-m-d H:i’; ←★変更
(573行)
$config[‘create_default_folders’] = true; ←★変更
(584行)
$config[‘enable_spellcheck’] = false; ←★変更
(863行)
$config[‘default_charset’] = ‘ISO-2022-JP’; ←★変更
(892行)
$config[‘timezone’] = ‘auto’; ←★そのまま
(911行)
$config[‘htmleditor’] = 1; ←★変更
(951行)
$config[‘flag_for_deletion’] = true; ←★変更
と、大体こんな感じでOkです。
全てOKになっていることを確認できたら「Test SMTP config」で送信テストを行います。
次に、「Check login」押下で、IMAPにログインできることを確認。
最後に
After completing the installation and the final tests please remove the whole installer folder from the document root of the webserver or make sure that enable_installer option in config.inc.php is disabled.
These files may expose sensitive configuration data like server passwords and encryption keys to the public. Make sure you cannot access this installer from your browser.
と、あるので、指示通りインストーラーのディレクトリを削除し、config/config.inc.php の70行目付近、enable_installer オプションをfalseにして、アップロードします。
以上でインストール作業は完了。
ログイン画面にアクセスできることを確認。
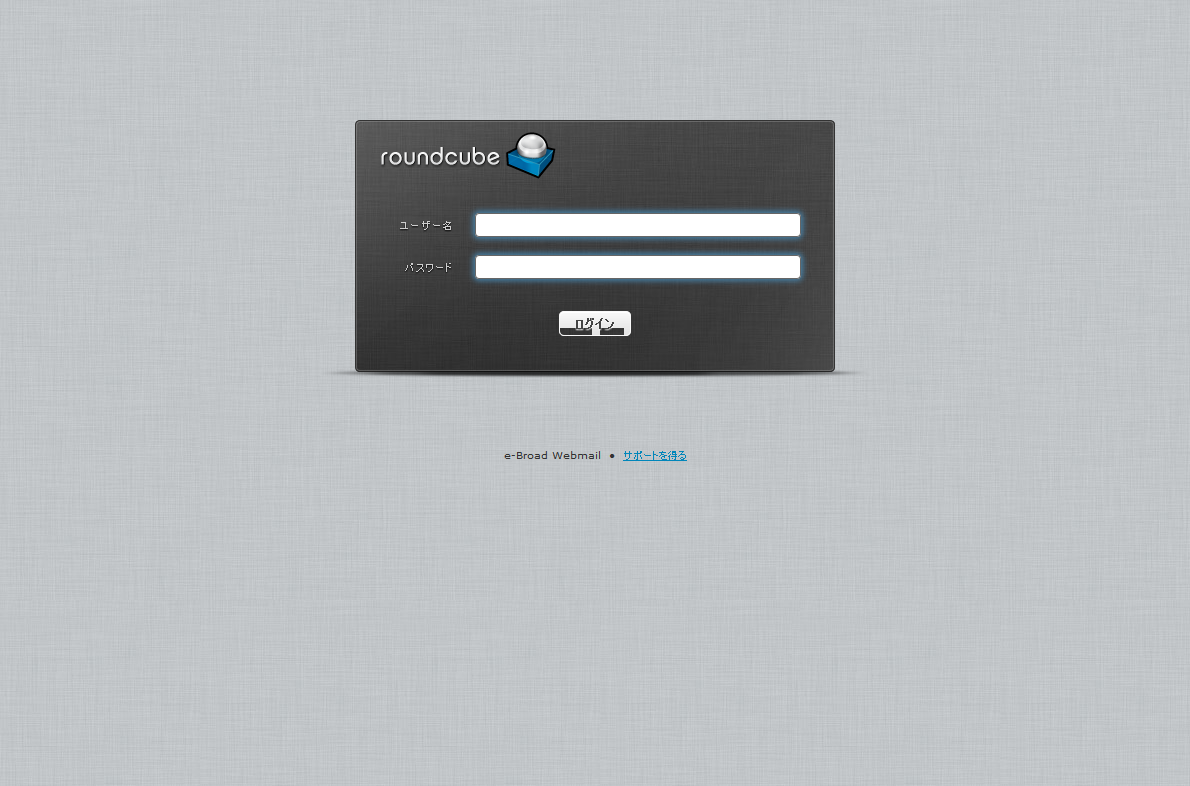
問題なくできているようですね。
インストール作業のお役に立てれば幸いです。
[tgAmazonItemLookup asin=”B00B1862ZW” related=”1″]